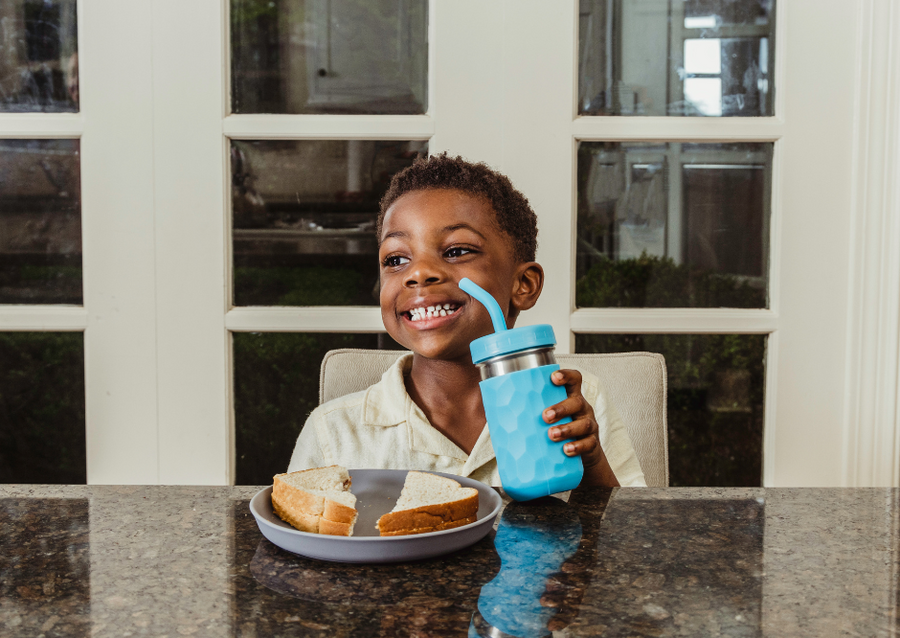
Adding a kids thermos to your toolset opens up a whole new world of school lunch possibilities! Check out these tips and tricks to make the most of your insulated thermos...

1. Prep Your Thermos -
This is a make it or break it tip … It’s easy to forget this step if you’ve never used an insulated thermos before, but properly prepping your thermos makes a world of difference when it comes to how long your kid’s food stays hot or cold! And it only takes a few minutes …
For hot foods:
Boil water on the stove or heat in the microwave, fill your thermos with the water, then close the lid as quickly as possible. Let sit for 10 minutes (the perfect time to heat your food or get those shoes on their feet!) Then pour the water out and immediately fill the thermos with your food. Put the lid back on your food jar as quickly as possible.
You’ll do the same thing for cold foods, only you’ll use icy cold water instead!
Prepping your thermos is what makes the double walled, vacuum sealed design of your thermos work it’s heating and cooling magic for hours!
2. Wrap Solid Foods in Tin Foil For Added Insulation -
Wrap solid foods in tin foil before putting them in your thermos to retain heat for even longer. This works great with hot dogs, wraps, burritos and chicken nuggets (And it holds wraps and burritos together while they eat!)
3. Keep Food Crispy With Paper Towels -
Chicken nuggets are a lunchtime favorite, but no one likes soggy nuggets! Take 2 seconds to wrap your nuggets and other crispy foods in a paper towel before placing them in your thermos. The paper towel absorbs any condensation that would otherwise create a soggy mess!
(If you’re also wrapping your food in tin foil, just wrap the tin foil around the paper towel)
Check out this list of lunch ideas you can use this trick with!
4. Pack Fresh Ingredients Separately -
Let your kiddo assemble their meal themselves so fresh ingredients stay fresh until it’s time to eat! Remember that not everything needs to be in one container. Get creative with your little’s meals by packing hot ingredients in your thermos and cold ingredients in separate containers.
Example: If you’re sending taco salad you can layer tortilla chips, meat, and cheese in your thermos, but pack sour cream, lettuce, and tomato separately.
5. Meal Prep on the Weekend -
Leftovers are a lifesaver when you’re rushing out the door in the morning. But with a little planning you can meal prep multiple meals ahead of time (like when you have more time on the weekend) so you’re ready to go on busy weekday mornings! Or just make more than you need for dinnertime so you know you’ll have leftovers for lunch.
Check out these 92+ make-ahead meals for inspiration!
Bonus Tip -
Don’t forget that insulated thermoses also keep cold foods cold! When we think of thermoses we often think of them as strictly a hot soup thermos, but your insulated food thermos is also ideal for keeping cold foods chilly. Think yogurt, fruit salad, carrot sticks, and potato salad. Great for cold treats on warmer days!
There you have it. Let us know if you have any thermos tips and tricks of your own and check out the rest of our food tips and tricks!

